Windows 11 ISO images are now available! Despite Microsoft saying that Windows 11 is available for supported PCs only, it can be used on unsupported PCs using ISOs – at your own risk, see below – and all features do work well.
Windows 11 ISO contains Build 22000.194 (version 21H2) of the operating system and it is available in all editions (Pro, Home, Enterprise, Education, etc). The new operating system requires 64-bit processors, so the ISO file is not being offered in the 32-bit version.
Windows 11 version 21H2, otherwise known as October 2021 Update, started rolling out on October 5, but the availability depends on the location of the device. If you can’t wait for the free upgrade notification on Windows Update, you can download ISOs of Windows 11 version 21H2 to update your devices immediately or perform a clean install.
To download the ISO file for Windows 11 version 21H2, you’ve two options – create a media installation image using Media Creation Tool or download the file from Microsoft’s website.
Direct download Windows 11 ISO files from Microsoft
If you need the installation media immediately, follow the guide to get direct download links or use these official links:
The above link has been generated using Microsoft’s website and it will expire automatically after 24 hours. If you’ve downloaded the media image from another source, you can verify the authenticity of your download by following these steps:
- Open Windows PowerShell.
- Use PowerShell command Get-FileHash to compute the hash value for the file.
- In this case, use the command Get-FileHash C:\Users\username\Downloads\Win11_English_x64.ISO
If the SHA256 value matches the below table, you can go ahead with the installation.
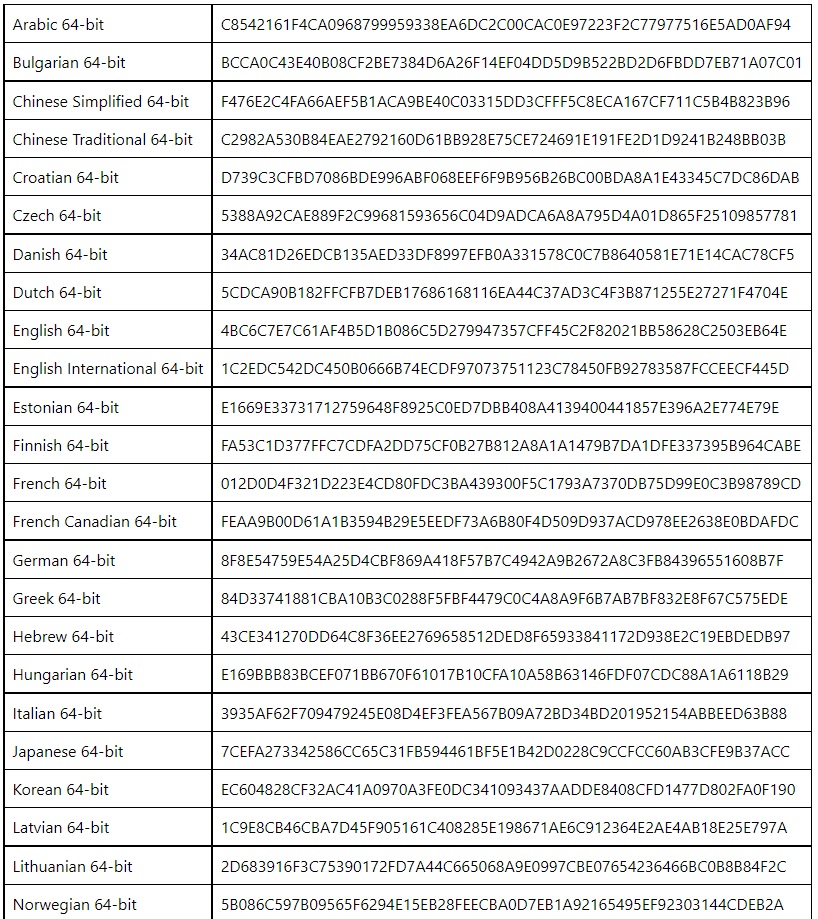
Note that the above file includes support for all editions of Windows. This includes Pro, Home, Enterprise, Workstation, Education, etc.
In this guide, we’ll highlight step-by-step instructions to generate direct download links for Windows 11 ISO files and apply the upgrade manually.
How to download Windows 11 ISO
To download Windows 11 October 2021 Update ISO, use these steps:
- Open your favourite browser and visit the download page.
- Locate the section “Download Windows 11 Disk Image (ISO)“.
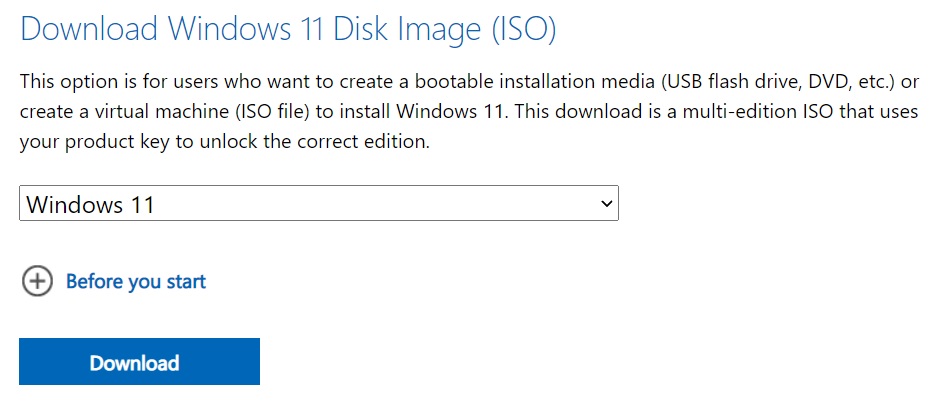
- Select “Windows 11” from the dropdown menu.
- Click on “Download“.
- Select the preferred language. If you’re planning to upgrade the existing hardware, make sure that you verify the configuration by visiting Settings > System > About.
- Click on 64-bit download to begin the process.
What is the size of Windows 11?
The size of the ISO file is 5.1GB, but it could be slightly lower or higher depending on the language pack you select.
How to install Windows 11 using ISO
To install Windows 11, use these steps:
- Right-click Win11_English_x64.ISO and click Mount.
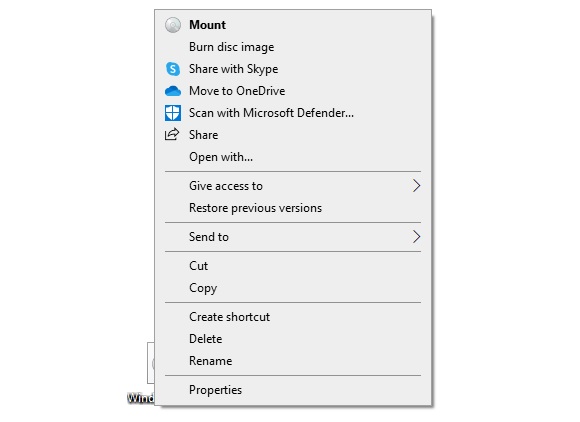
- Open File Explorer and locate the drive containing the media image.
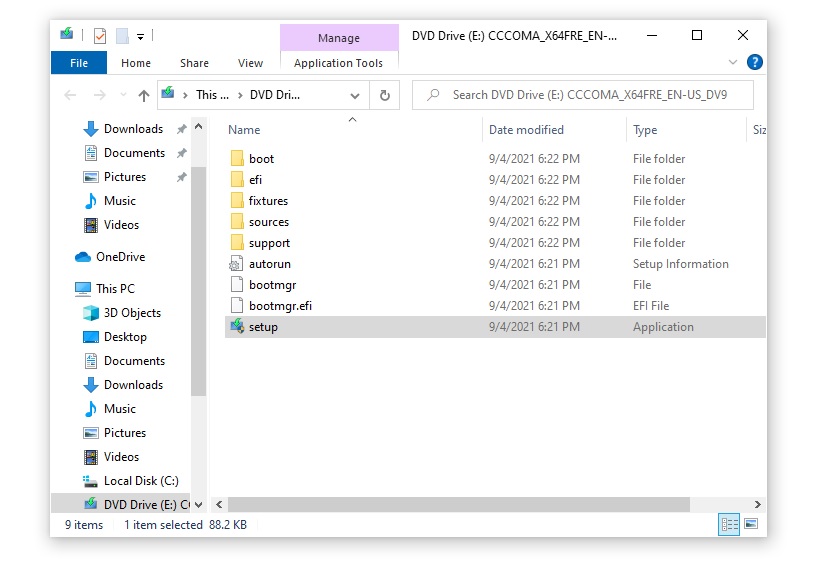
- Double click Setup.exe.
- Click Yes if Windows ask for administrator permission.
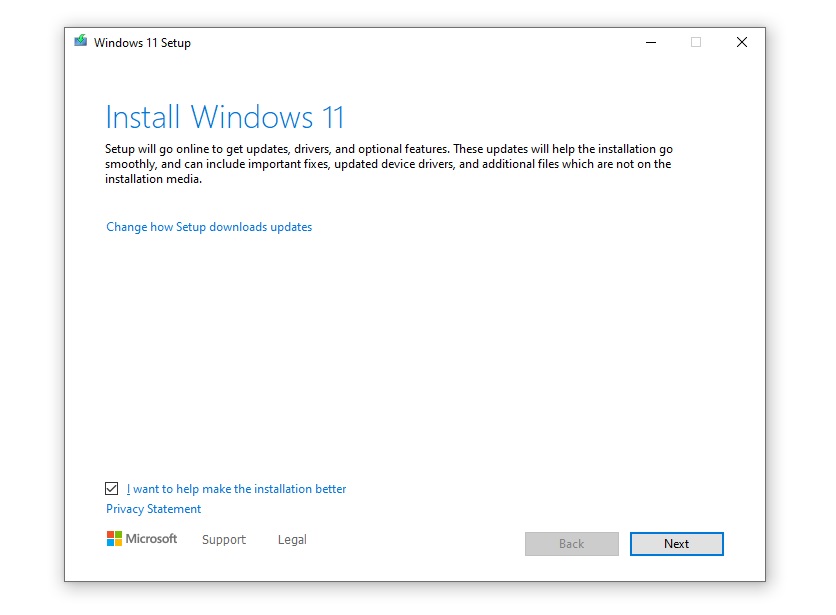
- Under the “Install Windows 11” screen, click on “Next“. You can uncheck “I want to help make the installation better” option if you want.
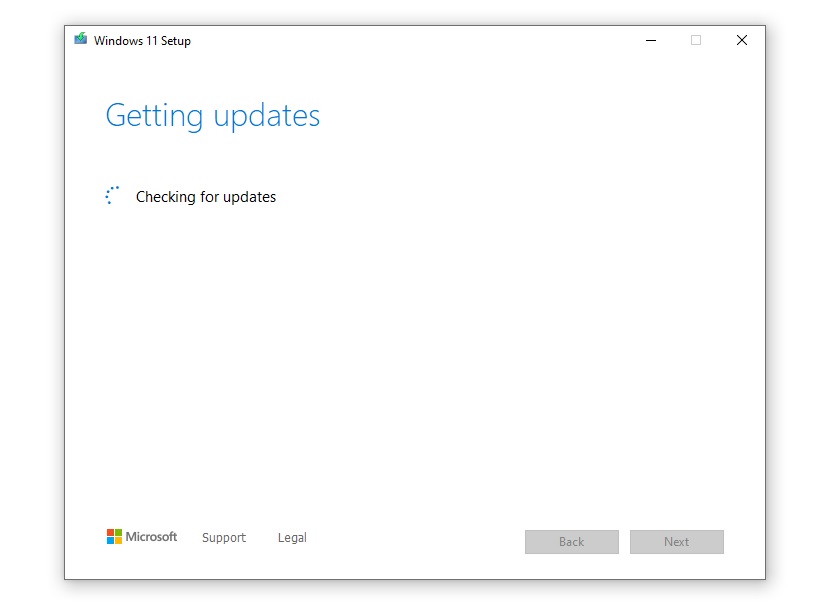
- On the next screen, you can choose to install any important updates before upgrading and click Next.
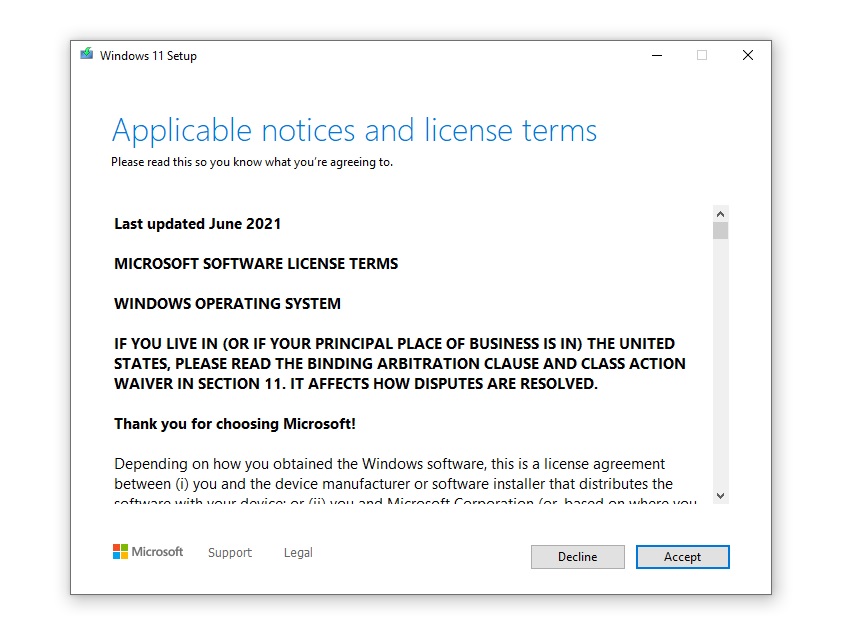
- Accept the End User License Agreement.
- Click Install.
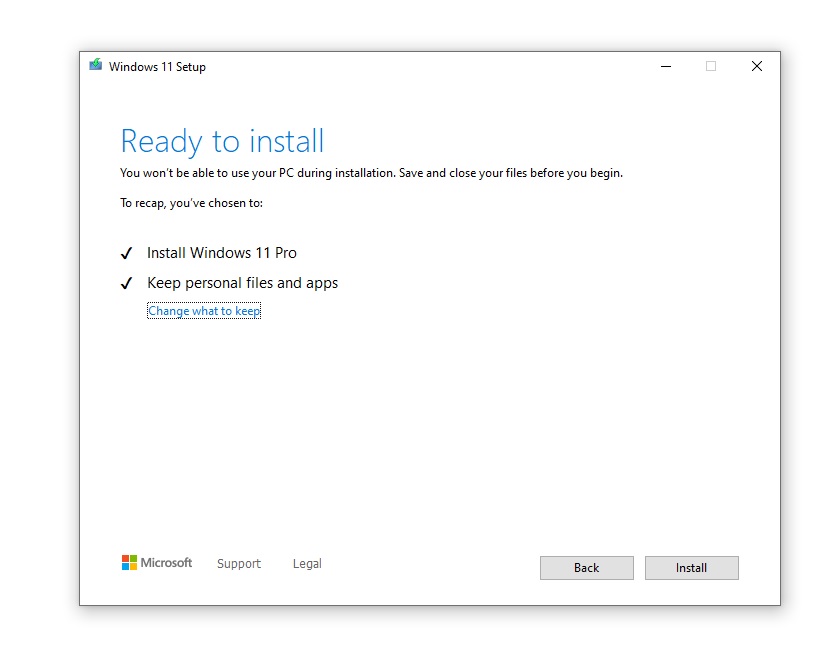
- Under the “ready to install” screen, make sure you select the option that lets you keep the personal files and apps.
- Click Install.
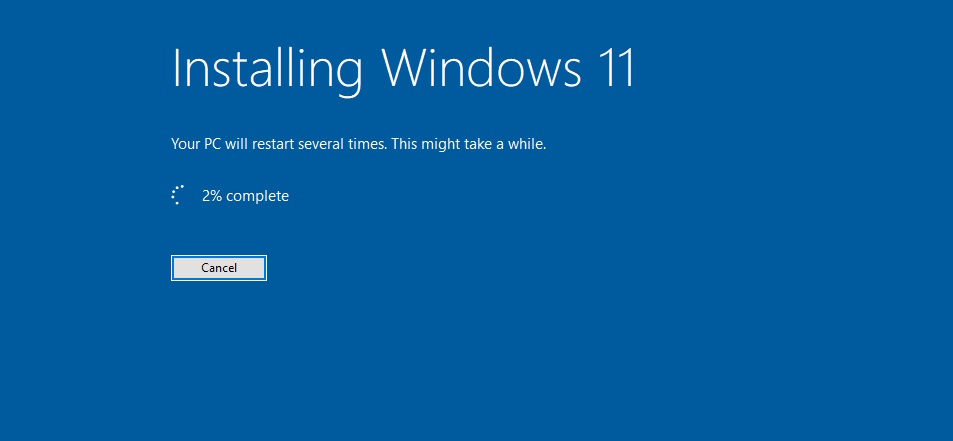
Windows will check for updates multiple times to reduce compatibility issues. You can turn off the internet connection and run the setup again if you don’t Windows to check for updates during the setup.
This step is particularly helpful when you have a limited or slow internet connection.
How to perform a clean install of Windows
Doing a clean install of the operating system isn’t the same as performing the upgrade via Windows Update or setup.exe of the media image.
This method is particularly helpful if you’ve already upgraded to Windows 11 via Windows Update and the computer is experiencing slowdowns or design glitches.
To start, you will need access to an 8GB or larger USB flash drive. Once done, follow these steps:
- Download and run the Windows 11 installation tool from Microsoft.
- Allow the setup to prepare your device and create installation media for another PC.
- Under “Choose which media to use”, select USB flash drive.
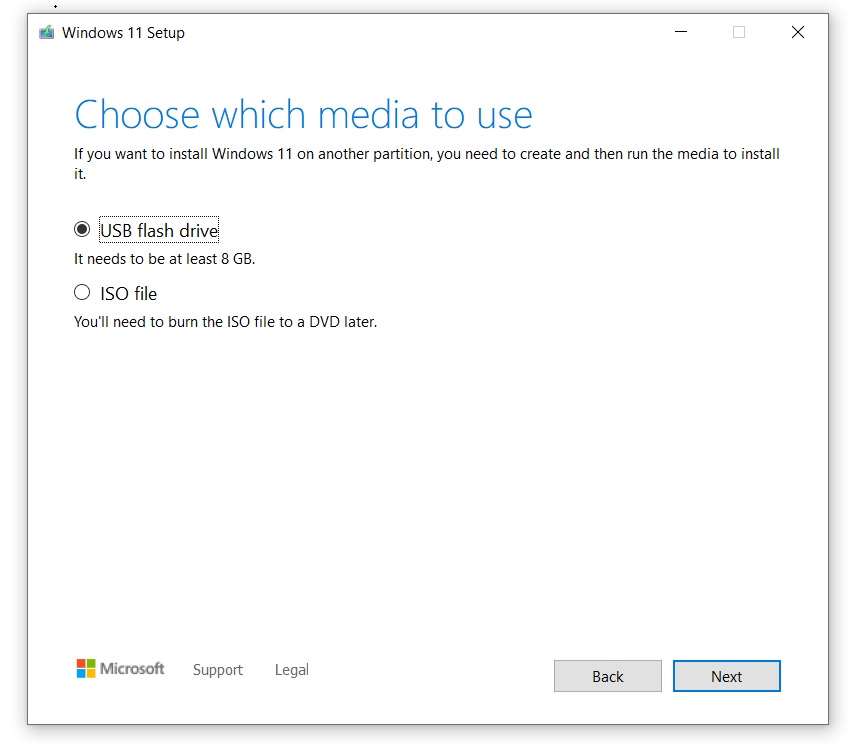
- Hit the “Next” button.
- Select your flash drive.
- Hit “Next” one more time.
- Select “Finish” to start the download process of Windows 11 and create the USB installation drive.
Once done, boot your PC from the USB drive. The boot menu keyboard shortcut depends on the manufacturer of the device, but you can try pressing ‘F2’, ‘F12’, or ‘Delete’ after turning on the PC.
When you see the blue screen with the installation window, the rest of the process is quite straightforward. Essentially, you’ll choose the partition, language, operating system edition and Microsoft will do the rest.
To clean install Windows 11, use these steps:
- Boot using the USB flash drive.
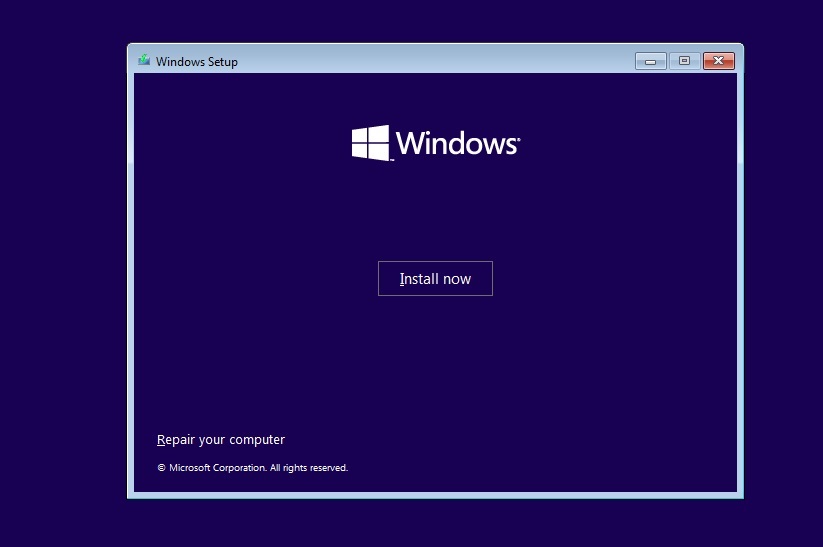
- On the blue screen, select “Install now“.
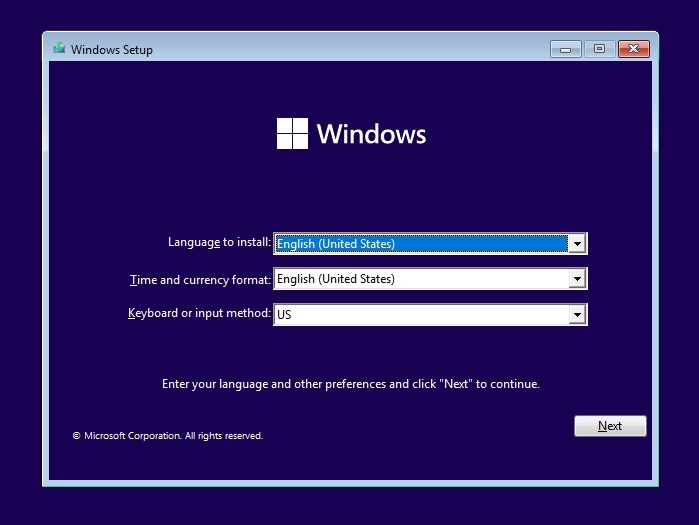
- Select your language (it should be selected automatically). Click Next.
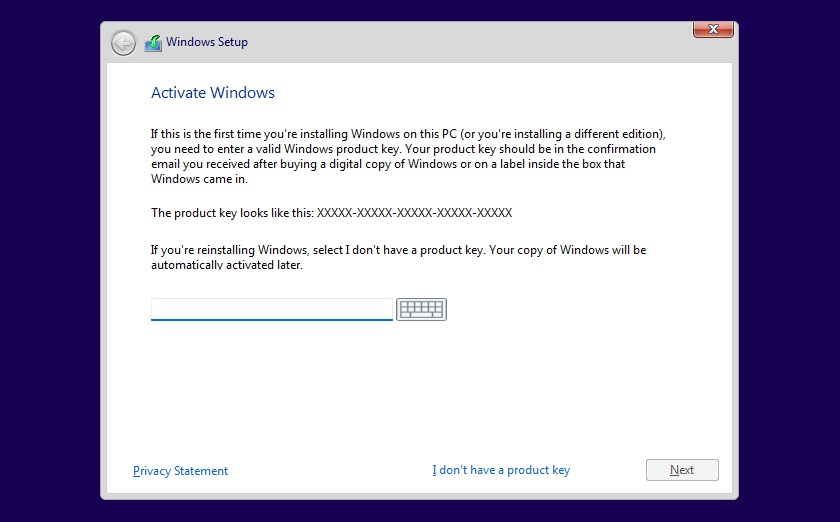
- Select “I don’t have a product key” and click Next. Windows will be activated actually as the license is generally linked to the Microsoft account.
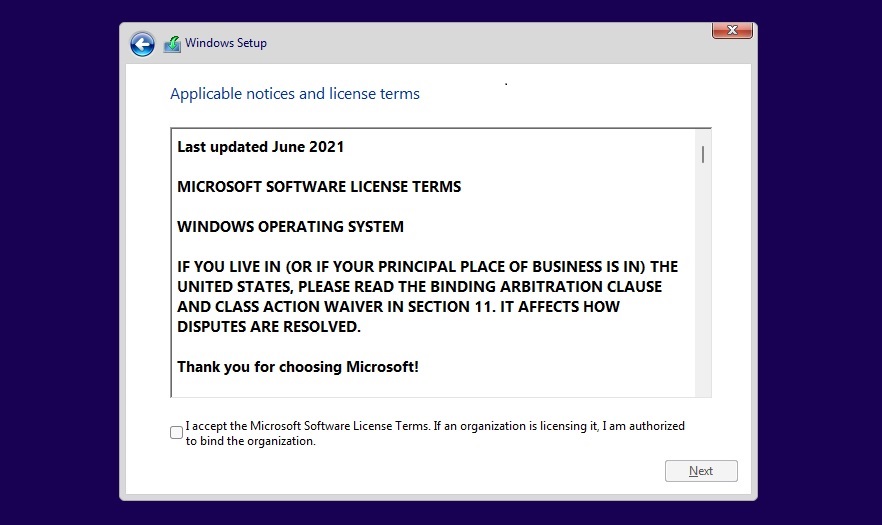
- Accept the license agreement and select Next.
- Select Custom Install and choose the installation partition.
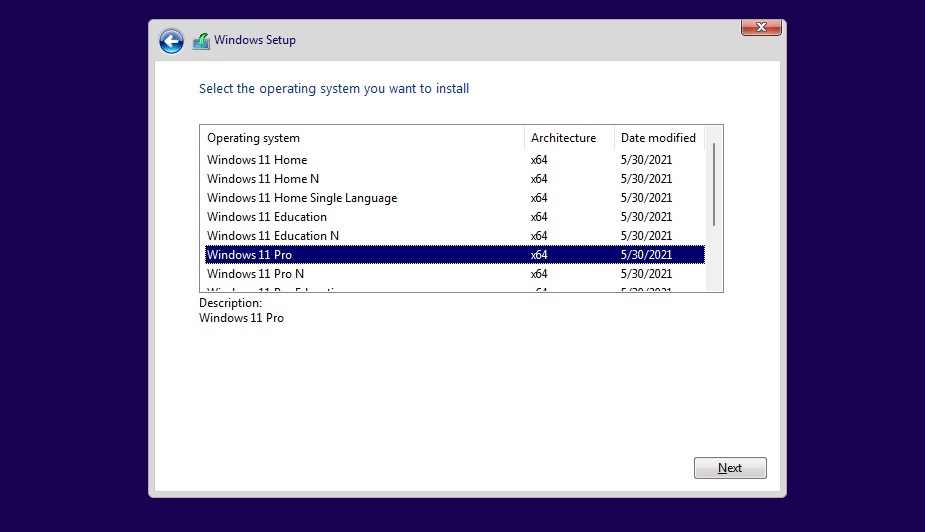
- On the next screen, select the edition of Windows. In our case, we’ve selected Windows 11 Pro.
- Click Next.
- Windows installer will begin copying files and it will boot to the OOBE screen.
- In the OOBE screen, select your country or region.
- Click Yes.
- Enter the name for your PC and click Next
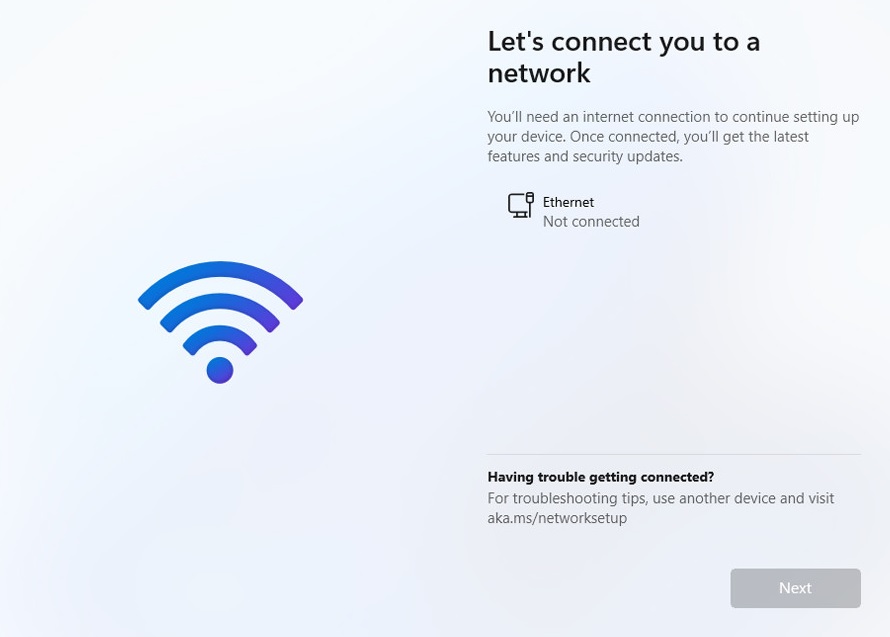
- Sign in with your Microsoft account. If you’re not connected to the internet, you may not be able to install Windows 11 Home. In the case of Windows 11 Pro or Enterprise, it is possible to create a local account directly from the OOBE screen
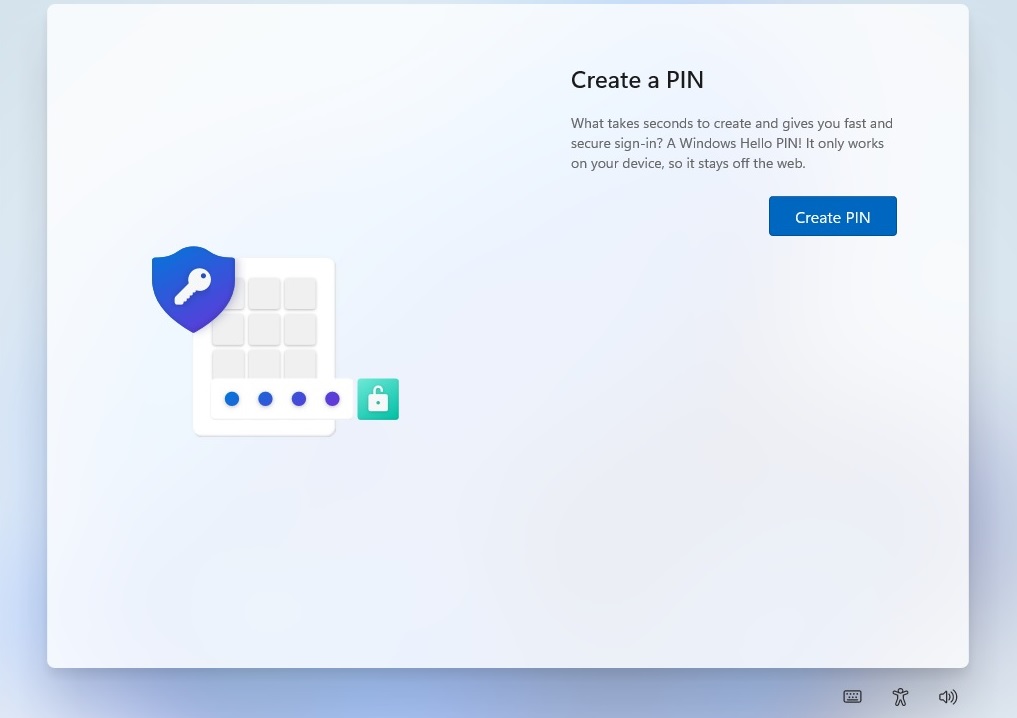
- On the next screen, create a PIN.
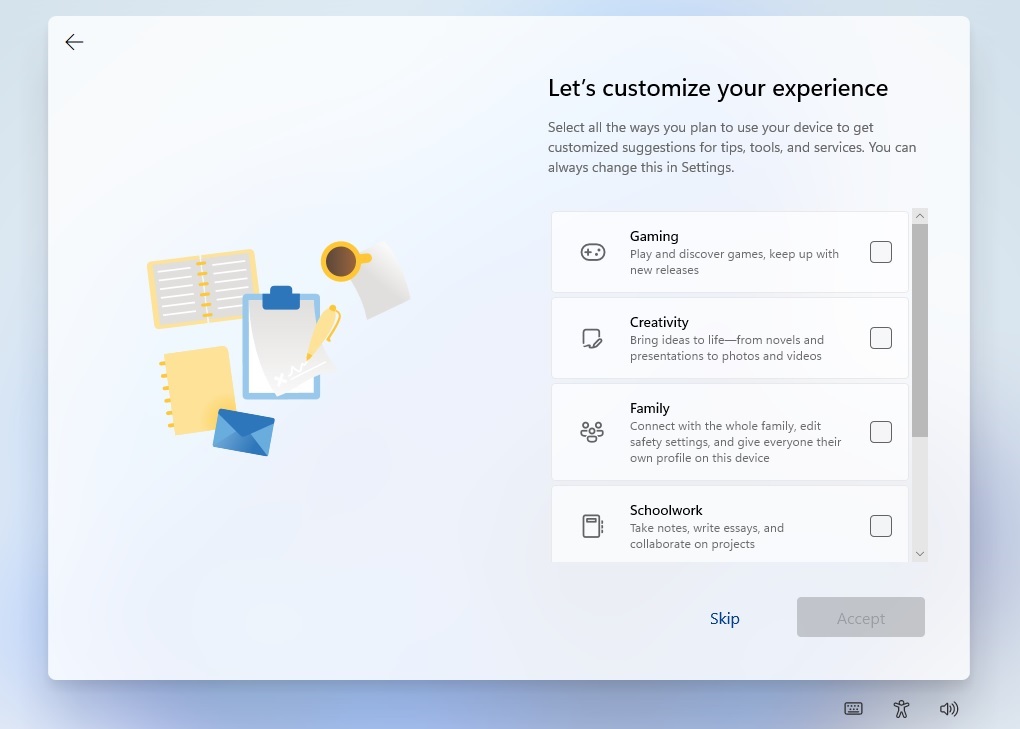
- Select your interests. For example, if you plan to use the PC for gaming or schoolwork, select those options. This will allow Microsoft to customize the Store and tips experience for you.
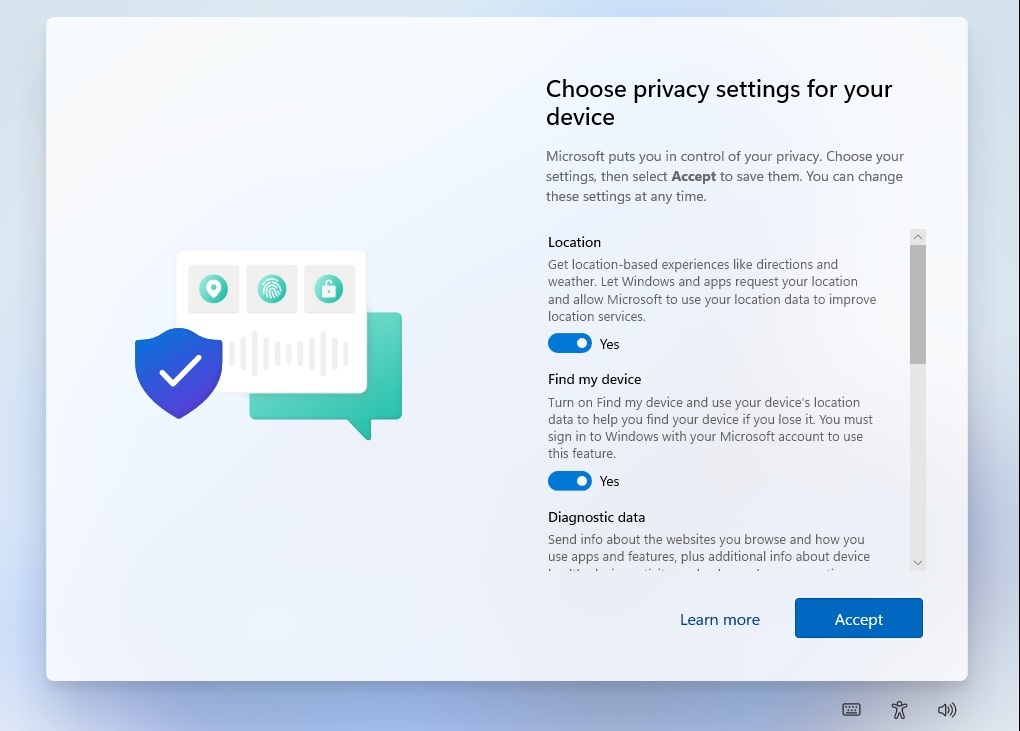
- Review privacy settings and enable/disable the options, and click Next.
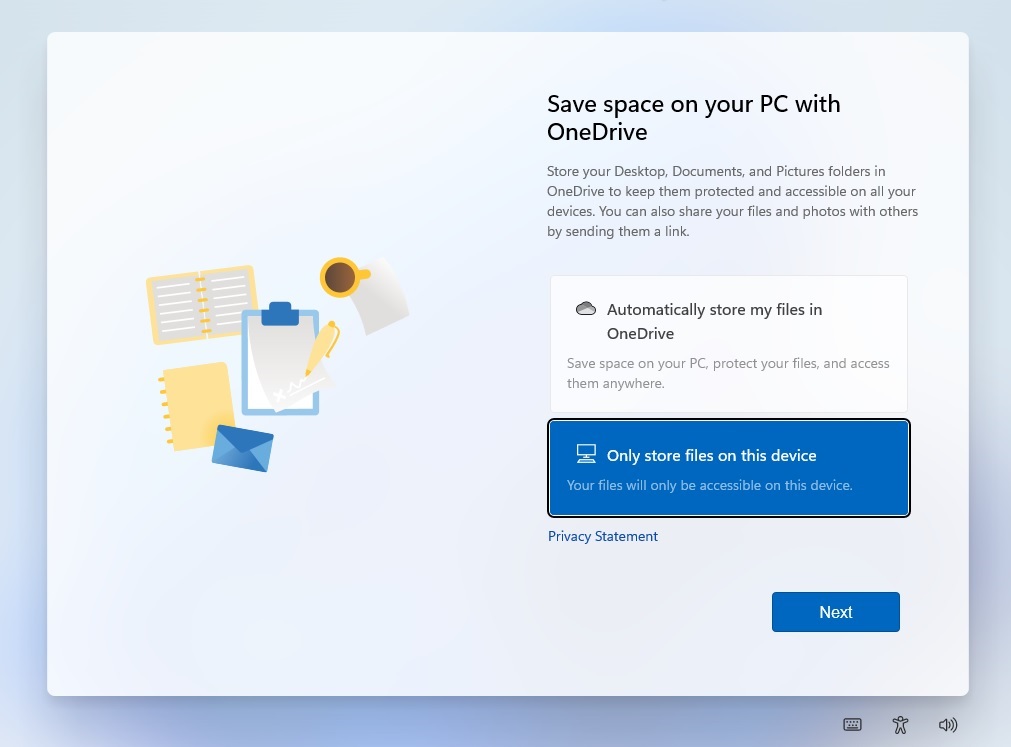
- Set up OneDrive. If you don’t want to use OneDrive, select Only store files on this device option.
If you’ve followed the steps correctly, you should see the desktop and a new Start Menu of Windows 11.
Bypass “This PC can’t run Windows 11” error
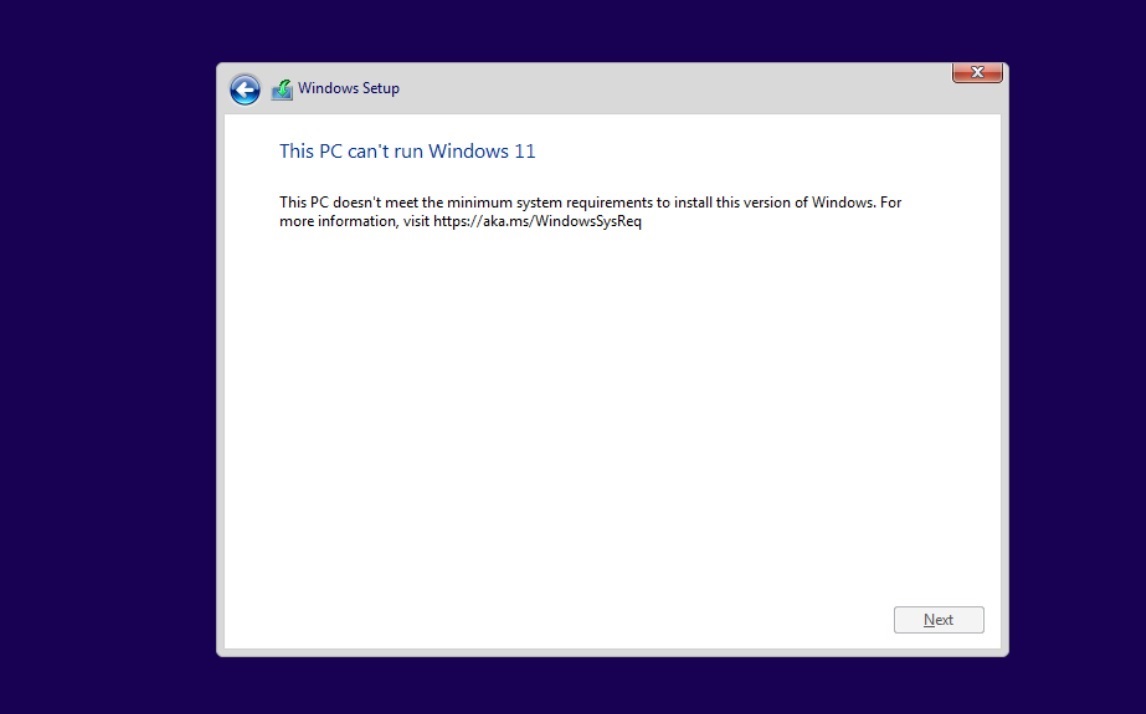
Windows 11 shares a lot in common with Windows 10. In fact, it’s essentially Windows 10 with a new skin, but it comes with new system requirements which are stricter than any previous version of Windows.
There’s been a lot of controversy around the system requirements and Microsoft has confirmed that it will block the upgrade on unsupported PCs.
Microsoft’s reasons for strict hardware requirements are not entirely clear, but the company claims that TPM 2.0 and new CPUs from AMD and Intel are required for better security and performance respectively.
For example, TPM 2.0 requirement unlocks new opportunities for anti-cheat systems. In fact, Valorant’s Riot Games have already started enforcing TPM 2.0 on Windows 11. On the other hand, newer CPUs ensure fewer Blue Screen of Death errors and better performance, according to Microsoft officials.
If you still want to install Windows 11, there is a solution.
There’s an open-source GitHub project called ‘Skip_TPM_Check_on_Dynamic_Update.cmd,’ a script that will allow users to download Windows 11 if your system doesn’t have a TPM 2.0.
The script can also be used to ignore the other requirements, but this could result in stability issues and Microsoft may disable Windows Updates on your device. Just because you can deploy the operating system doesn’t mean your PC will be considered eligible for future updates.
To bypass the requirements and install Windows 11 using ISO, use these steps:
- Head to the Github page.
- Download Universal MediaCreationTool wrapper.
- Extract the zip.
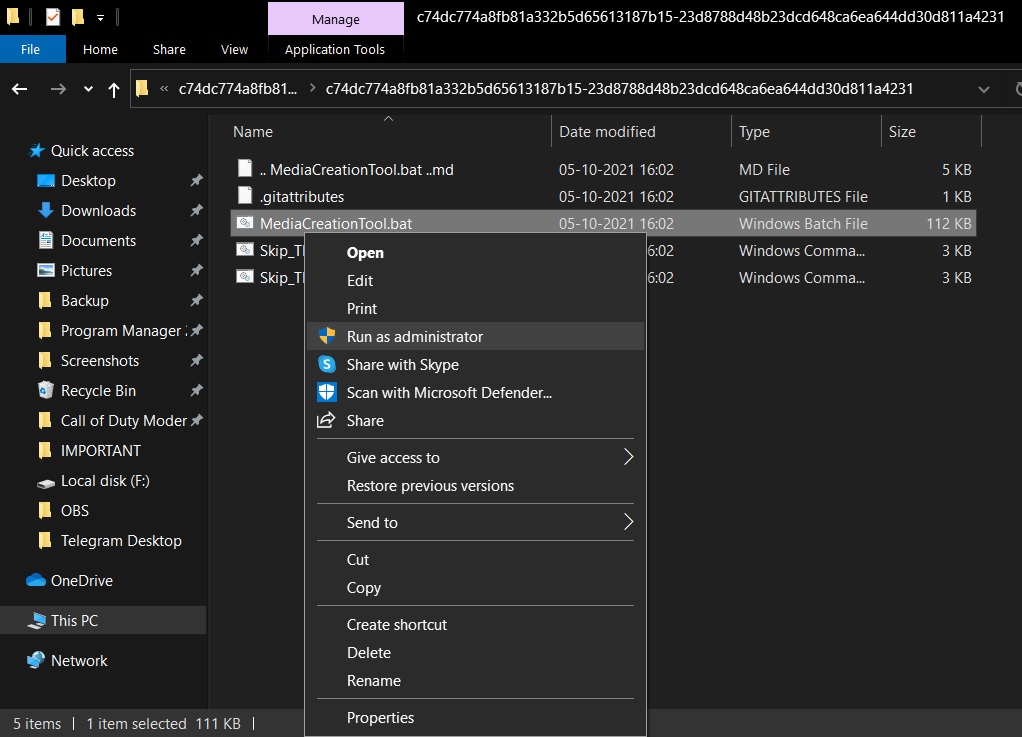
- Run MediaCreationTool.bat and ignore the security warnings.
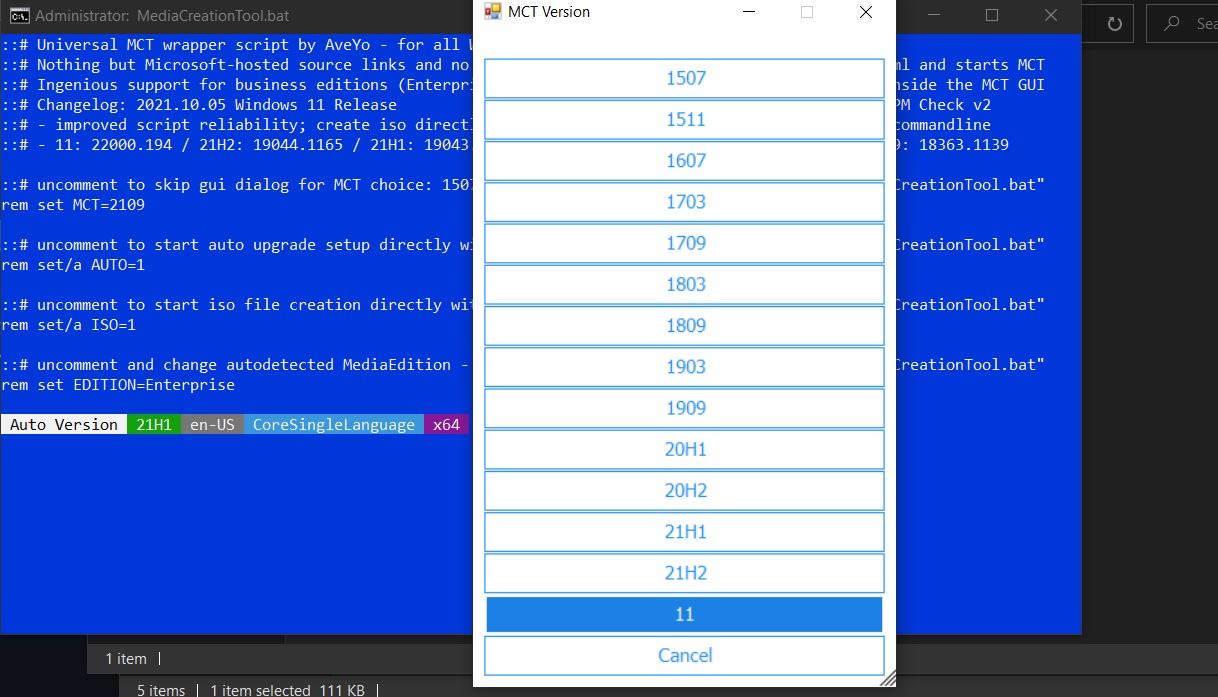
- Select 11.
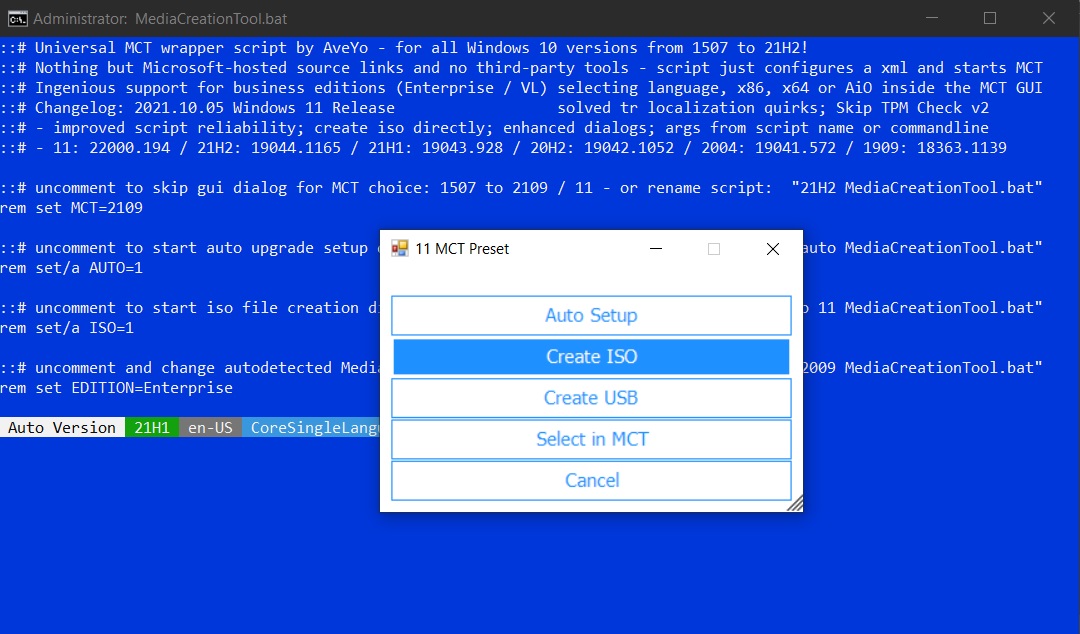
- Click “Create ISO“
When you click on “Create ISO”, Media Creation Tool will begin checking for updates and start downloading Windows 11. Once done, simply follow the onscreen instructions to install Windows 11.
Features, improvements and known issues
Windows 11 is a huge release and it comes with impressive design improvements for Start Menu, notification center, Settings, Microsoft Store and more.
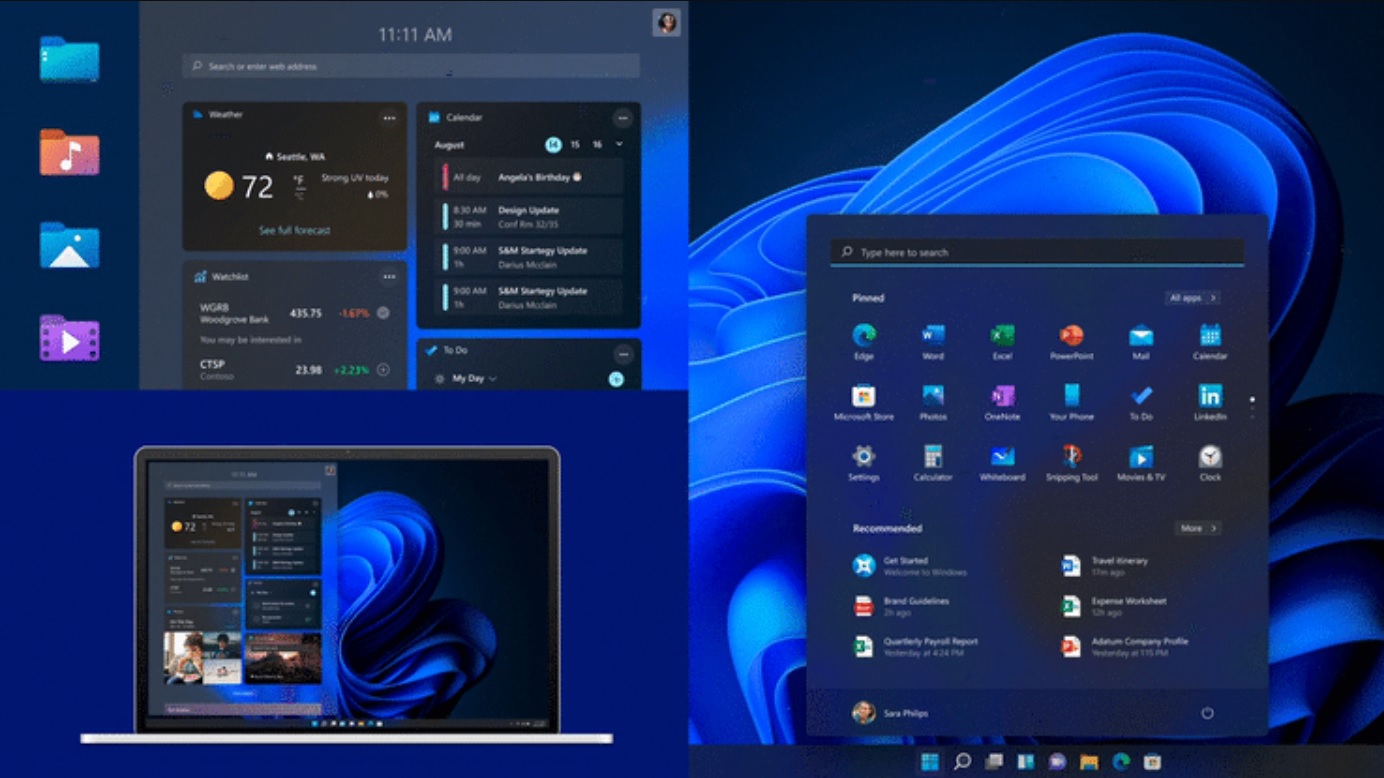
One of the biggest improvements in Windows 11 is the redesigned Start menu. The menu is now placed in the center of the taskbar and it no longer comes with live tiles, which means the menu now comes with fewer customization options.
You can rearrange the icons or pin/unpin apps, but it’s no longer possible to change the Start Menu size to your liking.
Another feature of the Start menu is a new “recommendations” section which surfaces apps and files that you use frequently.
In addition to the new Start Menu, Windows 11 also comes with a new way to manage notifications and settings from the desktop. Likewise, Windows 11 features a modern taskbar, but it is no longer possible to drag-and-drop apps/files onto taskbar.
Microsoft has also confirmed three issues in Windows 11. For example, the tech giant is aware of compatibility issues with Intel Killer networking software, VirtualBox, and Coc Coc browser.
Microsoft noted that Intel Killer networking software is not compatible with Windows 11 and it could result in a drop in User Datagram Protocol (UDP) packets. As a result, users might experience performance issues when browsing websites and video streaming platforms.
Similarly, Coc Coc browser won’t launch on upgraded systems.
Microsoft is planning to address these and other bugs in the coming weeks.
